Star Wars Jedi: Survivor is a worthy sequel to one of the best Star Wars games in recent memory. Not only is it bigger than Fallen Order, with more characters to meet and planets to explore, but it’s also chock full of fun features and hidden secrets that make the late game a meatier experience than in the first game.
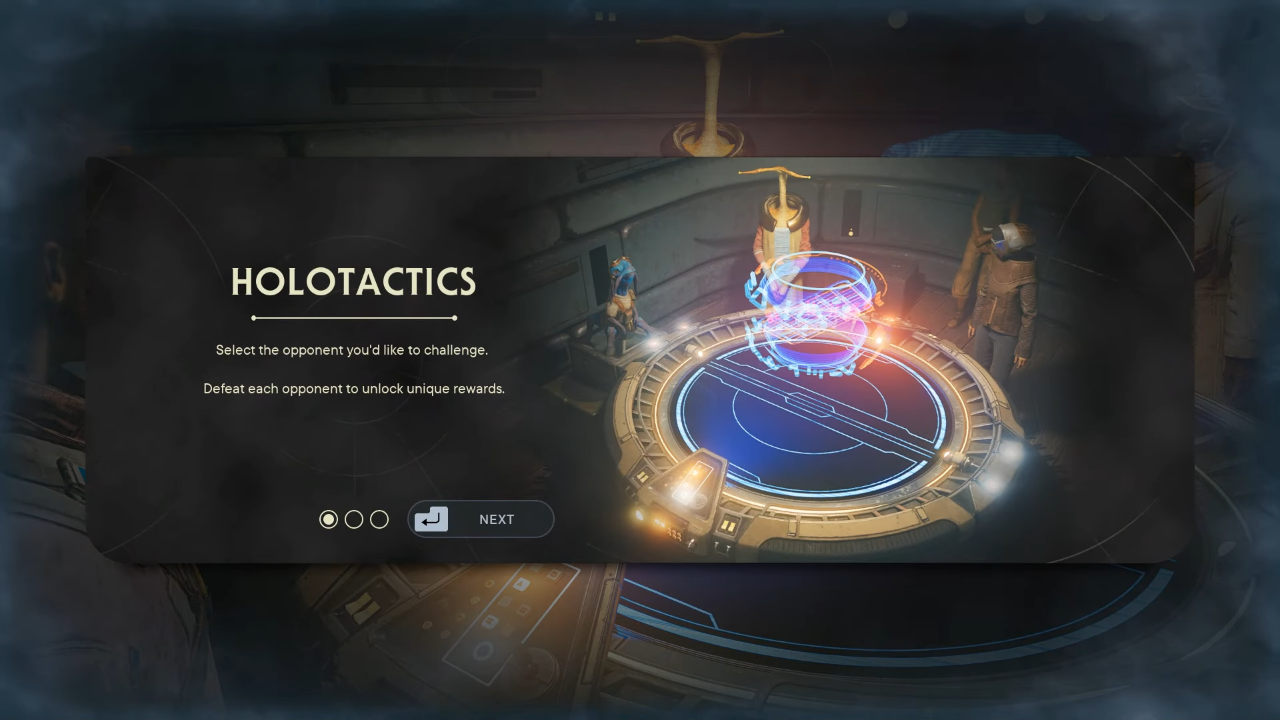
Easily the most addictive distraction Jedi: Survivor has to offer is Holotactics, a tactical mini-game that’s a fusion of auto chess and Dejarik (the “holochess” we see from time to time in the Star Wars films). Holotactics is intuitive and easy to learn, but can get surprisingly hard, especially against higher-tier opponents.
In this guide, we’ll cover everything you need to know to hit the ground running when playing Holotactics. We’ll walk through how to unlock the Holotactics mini-game before moving on to the game’s rules. Then, we’ll talk about the different opponents you’ll face when playing Holotactics and the rewards you can earn by defeating them. Finally, we’ll run you through a quick list of tried-and-true strategies you can use to win consistently in Holotactics.
How to Unlock Holotactics in Jedi: Survivor
Holotactics is unlocked by completing the Odd Pair rumor on Koboh.
Talk to Moran in Pyloon’s Saloon to initiate this sidequest. Moran will describe two suspicious individuals who have been spotted disturbing dead bodies in the valley.
Follow the mission marker to find the dubious duo, Bhima and Tulli, under attack by a Mogu. Save them by defeating the Mogu.
Once you’ve defeated the Mogu, speak to Bhima and Tulli. They’ll thank you for helping them, then head back to Pyloon’s Saloon, where they’ll set up a Holotactics table upstairs.
The Rules of Holotactics
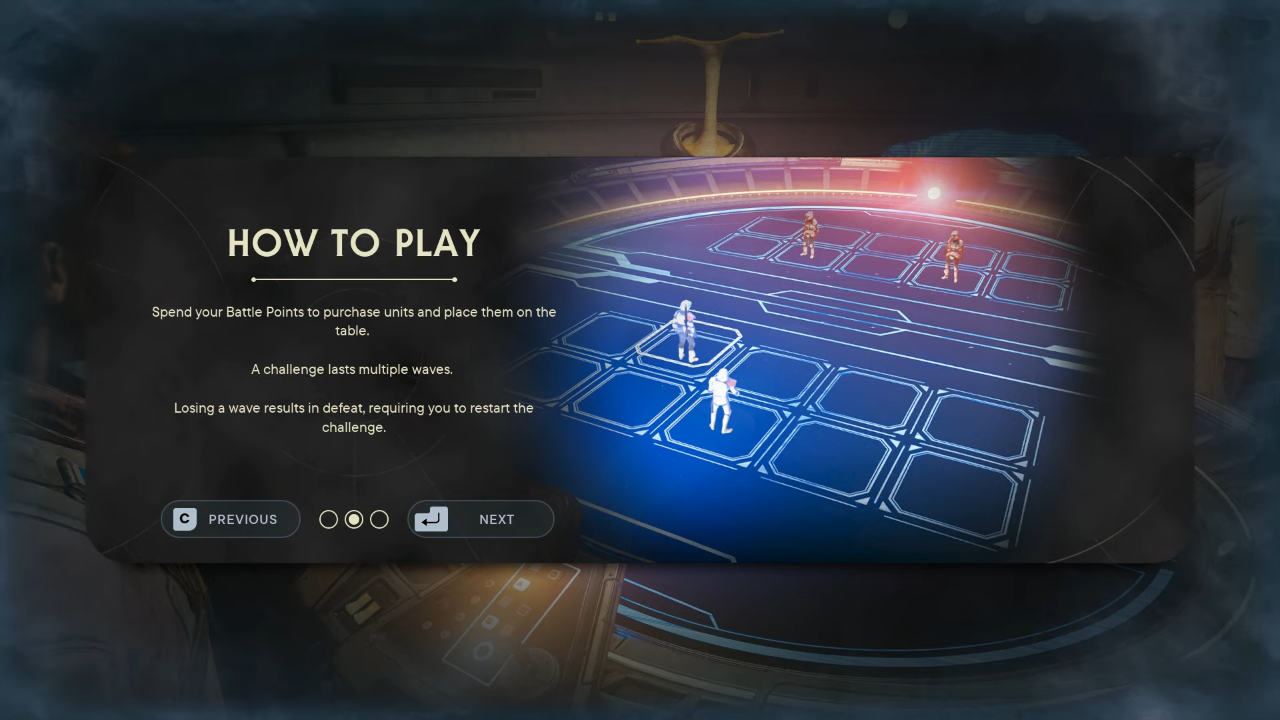
When first interacting with the Holotactics board, the game gives you a quick overview of the rules. Basically, you spend Battle Points to deploy combat units onto the board. When a wave begins, your units will automatically engage with the other player’s units. If your units successfully defeat all of the enemy’s units, you win the wave and can move on to the next. You win by completing all the waves.
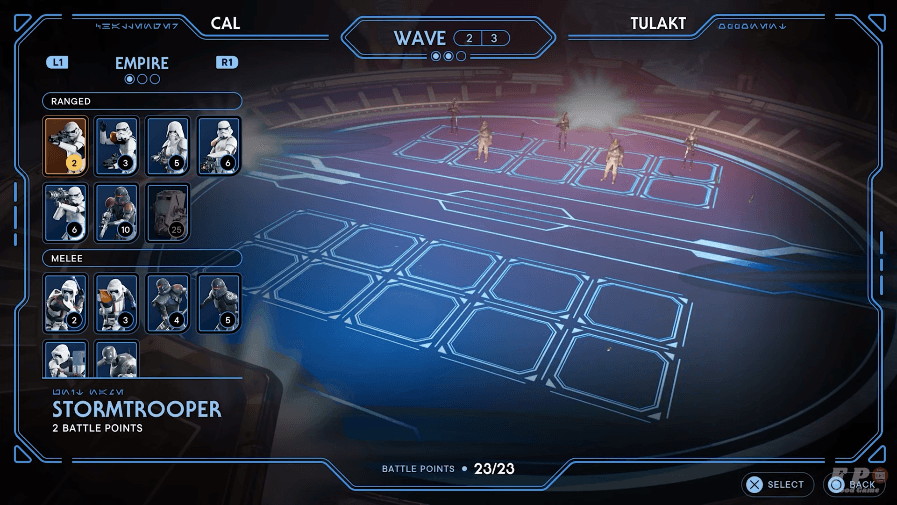
Before the start of a wave, you’re free to decide whatever units you want to deploy. There are 37 unit types in Holotactics, each with a different Battle Point cost. For each wave, you’re allotted a set number of Battle Points. The strategy lies in managing your Battle Points to complete waves as efficiently as possible.
To make things more interesting, any unspent Battle Points carry over to the next waves, encouraging careful spending in earlier waves so you can splurge against the tougher enemies to come.
Unlocking New Holotactics Unit Types
In the previous section, we mentioned there being 37 total unit types in Holotactics. However, not all of them are available to you from the start.
You unlock Holotactics unit types by defeating them in the main game, then scanning them with BD-1. Generally, the further along you are in the game’s campaign, the more units you’ll have unlocked (as long as you remember to scan every new unit you kill!).

How To Unlock all Holotactics Opponents (and Rewards)
In total, you can choose from eight different opponents to face in Holotactics. They’re ordered by their difficulty level, which is indicated by the number of circles below their names.
If you’re just starting out playing Holotactics, we recommend you start with the easiest opponent, Turgle, and work your way up the list.
Depending on where you are in the game, you may not have unlocked all the Holotactics opponents. Three are unlocked at the start: Turgle, Greez, and Tulakt. The others become available as you progress through the campaign or complete sidequests. Below is the full list of Holotactics opponents, how to unlock them, and the rewards you get for beating them:
| Opponent | Difficulty Level | How to Unlock | Rewards |
| Turgle | •• | Available at start | Priorite Shard |
| Greez | ••• | Available at start | Pilot Jacket |
| Tulakt | ••• | Available at start | Anodized Metal Paint |
| Merrin | ••• | Visit Jedha | Jedha Scroll |
| Caij | ••• | Second visit to Jedha | Bounty Puck |
| Skoova | •••• | Complete Find Mysterious Fisherman rumor | Mustache |
| T-1N8 | •••• | Find during Investigate the Abandoned Shack rumor | Datadisk |
| Tulli | •••• | Beat all other opponents | Skill Point |
Understanding the Nuances of Holotactics
Jedi: Survivor’s in-game tutorial is barebones and ignores a lot of the details of Holotactics. While Holotactics isn’t particularly deep compared to other gaming mini-games, that’s not to say the game lacks strategy. Understanding aggro and proper positioning is especially crucial for success.
Here are three key details to understand when playing Holotactics:
1. Later Waves Are Always Harder Than Earlier Waves
Don’t feel the need to spend Battle Points just because you “can.” Your goal should always be to save as many Battle Points as you can in the early waves so you can buy more expensive and powerful units in the harder waves.
2. Units Always Attack the Nearest Unit
If you place a unit at the front of your battalion, they’ll draw the aggression of all enemy units. Because of this, most strategies favor tanky brawlers who can soak up the enemy fire while ranged units wreak havoc from the back lines.
3. Every Unit Type Is Strong Against Certain Unit Types and Weak Against Others
Figuring out the strengths and weaknesses of your unit types is crucial if you want to consistently come out on top in Holotactics. For example, Heavy Assault Troopers are excellent at clearing out squishy long-range damage dealers but have trouble dealing with armored unit types. Meanwhile, Rocket Launcher Troopers cut through enemies with armor or shields but are prone to dealing friendly fire, potentially killing some of your own units during a wave.
In summary, saving your Battle Points in early waves will make later waves more manageable. Units automatically attack the nearest enemy unit, so you should always have melee units to protect your backline shooters. And each unit type has its own strengths and weaknesses that you’ll have to learn as you play.

How To Win at Holotactics in Star Wars Jedi: Survivor
Now that you have a basic understanding of how Holotactics work, let’s talk about some common strategies you can use to yield the best results in this mini-game.
Use B1 Droids as Cheap Cannon Fodder
B1s are terrible fighters, but they cost virtually nothing (one Battle Point, to be exact). If you’re trying to save Battle Points for later waves, dropping two or three B1s on the frontlines can buy enough time for your shooters to demolish the enemy squad.
Experiment With Different Units
If you’re having trouble getting past a certain opponent, don’t give up! The units that your opponents deploy are the same in each wave, so you can experiment with different unit types and formations until you finally get it right.
Spam Droidekas
As with any new strategy game, players eventually discovered certain “cheese” tactics that make winning a breeze. In Holotactics, that tactic is simply spamming lots and lots of Droidekas.
This tactic is so effective that it can ruin Holotactics for you. For that reason, we don’t recommend employing this tactic until you’ve at least tried to figure out a strategy of your own.
The only downside to the Droideka spam is that this unit type doesn’t become available until much later in the game. If you want to get your hands on all the Holotactics rewards as soon as possible, you won’t be able to deploy Droidekas until you get to the Lucreholk on Koboh.
That wraps up our starter guide to Holotactics in Star Wars Jedi: Survivor. With these tips and strategies in hand, you’ll be crushing this mini-game in no time.
For more on Star Wars Jedi: Survivor, check out our Star Wars Jedi: Survivor review and Jedi: Survivor day-one patch impressions. And if you’re ever in need of a Steam Wallet Code (perhaps to grab a copy of the game!), be sure to head over to OffGamers here.

Sarah is a junior content outreach writer for OffGamers. She fosters relationships between gaming enthusiasts and gaming developers to create relevant content for gamers worldwide. She also happens to be a passionate writer and a certified night owl.