Imagine this: You go to see Isabelle in Resident Services and ask her to evaluate your island. Her little thought bubble pops up, and she says you currently have a… 4-star rating! What?? How?? You think, “I’ve done everything you’ve asked!” Or maybe, “I JUST had a 5-star rating!”
If this is you, and you just feel like you can’t possibly do any more to improve your island, then you’ve definitely come to the right post. Fear not, as I will help you check off all the required characteristics of a 5-star island in Animal Crossing: New Horizons and show you how to maintain that rating.
What You Need for a 5-Star Island in Animal Crossing: New Horizons
Animal Crossing: New Horizons technically uses a point scale for island and scenery development. Your grade depends on how much of a certain item category you’ve included, but the grading involves way too much thinking (and math) for my liking, and possibly yours. So, here’s a simpler version with easy estimations:
- At least 100 trees and bamboo trees
- 50 pieces of fencing (doesn’t have to all be connected)
- Roughly 200 flowers
- 5 to 7 ramps
- 6 to 8 bridges
- About 50 DIY furniture items (exterior)
- About 50 store-bought furniture items (exterior)
- A well-balanced island
At a glance, this list can seem overwhelming. But fret not! It’s much easier than it looks, and you can still achieve this without losing your organized island. Here’s how.
Step 1: A Tree Is Known by Its Fruit
Some people’s first instinct when seeing how many trees they’ll need to reach the 5-star rating is to go around their island and plant trees anywhere and everywhere in all the empty spaces. But this just leads to more work later on when you want to maintain your island and make it more cohesive. So how do you stay organized when planting all the trees you need?
Make an orchard! This requires so little planning aside from choosing what kind of trees you want in your orchard. Depending on how much space you want it to take up, your orchard can be as big or as small as you’d like.

Personally, I chose to do a plot with one row each of every fruit and 10 columns of every fruit (5×10 plot). So I’ve got a plentiful supply of non-native fruit that I can pick in mass every three days and rack up a lot of bells. And, I’ve made 50 fruit trees look really nice by keeping them in a neat dirt pattern plot that’s equally cohesive and separate from the rest of the island.
Of course, you can also utilize the other kinds of trees available to you, such as pine trees and bamboo, to make different ecosystems on your island, like a zen garden or forest. This can greatly help add to your total count.
Step 2: On the Fence About Fences?
So, 50 pieces of fencing is actually really easy to go through when you start building. But it’s common to get tunnel vision on how to utilize your fencing on the island, with the first idea being to surround a large area with a single fence.
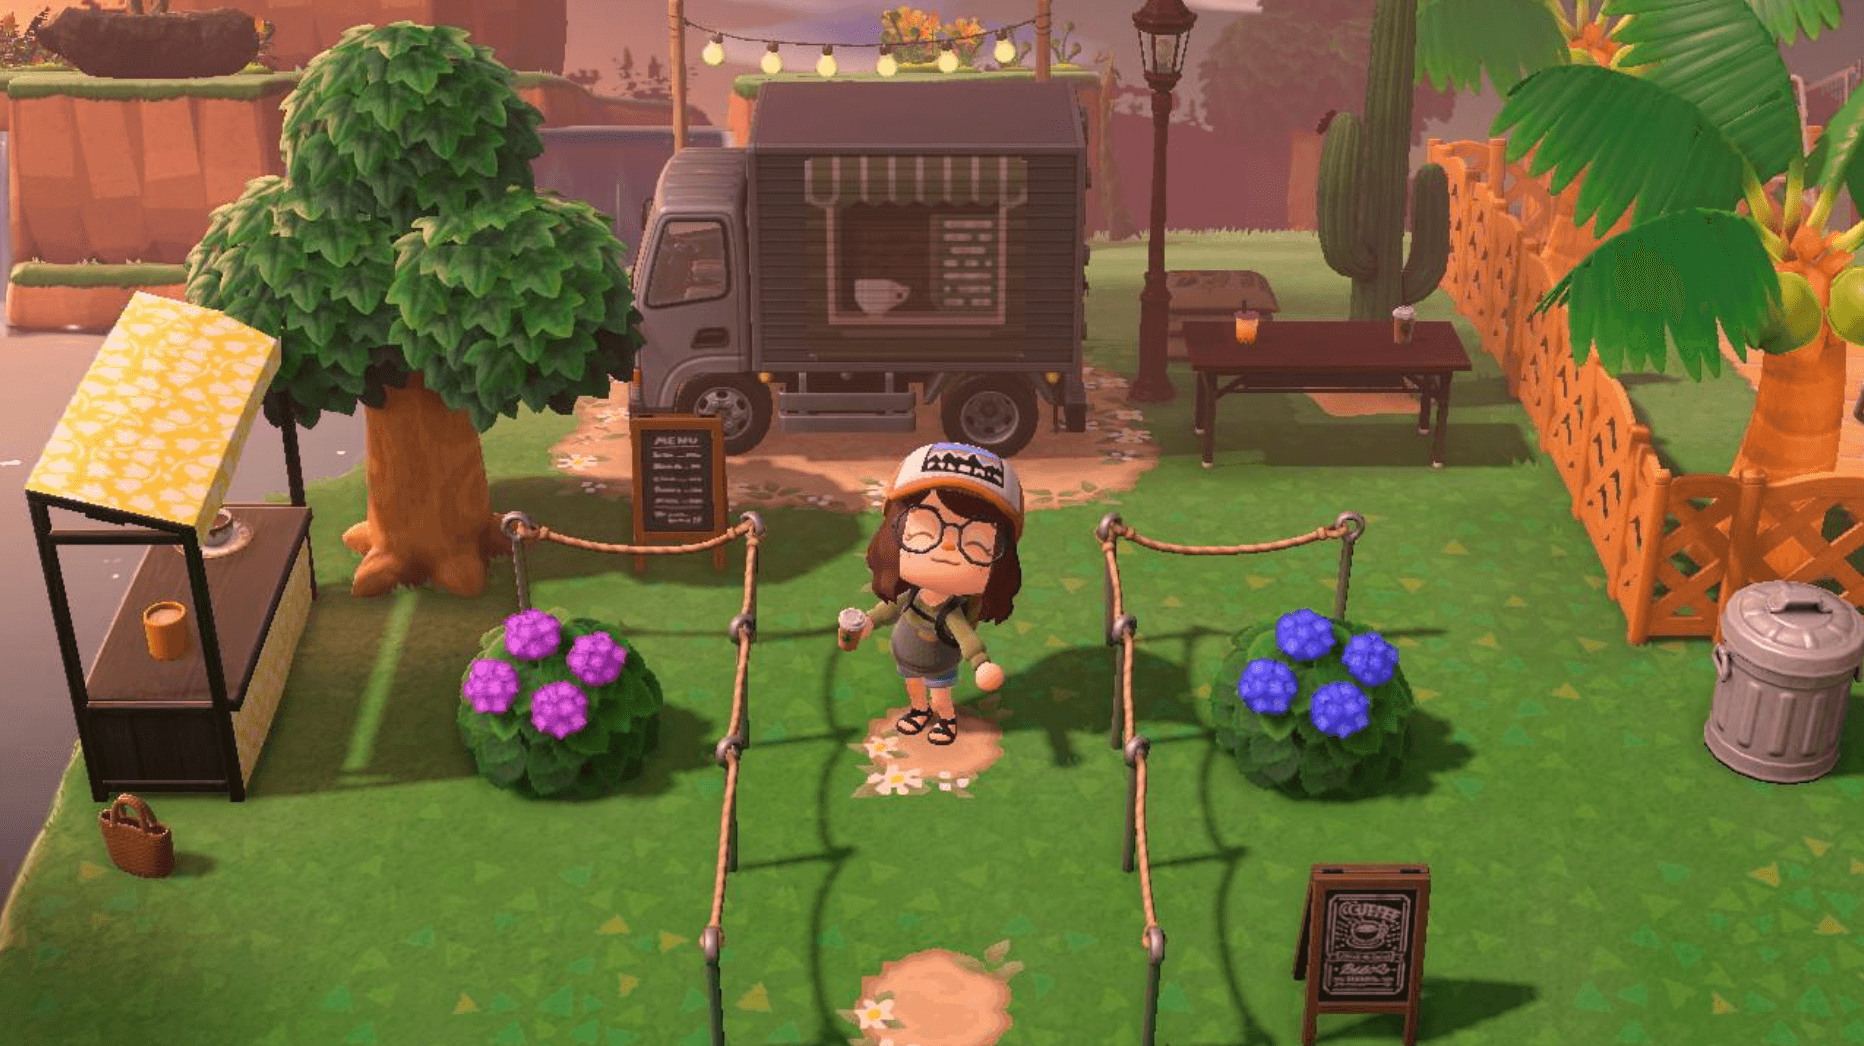
Don’t fall prey to this clunky and space-eating idea! Use different kinds of fencing around your island to give varying areas personality. You can do this by creating yards around your villagers’ houses, making small gardening areas, or by sprucing up spaces you’ve already made.
Be sure to use a variety of fences to keep the aesthetics looking fresh!
Step 3: Nip That Flower Problem in the Bud
While your island is already equipped with one type of flower, it’s beneficial to obtain all the species for both your rating and your Nook Miles achievement.
You can gain more flower types in Animal Crossing: New Horizons in one of five ways:
- Buying seedlings at Nook’s Cranny
- Buying seedlings from Leif when he visits, or at Harv’s Island
- Visiting mystery islands with Nook Miles tickets
- Going on island tours with Kapp’n
- Having a friend visit with flowers you don’t have and planting them on your island
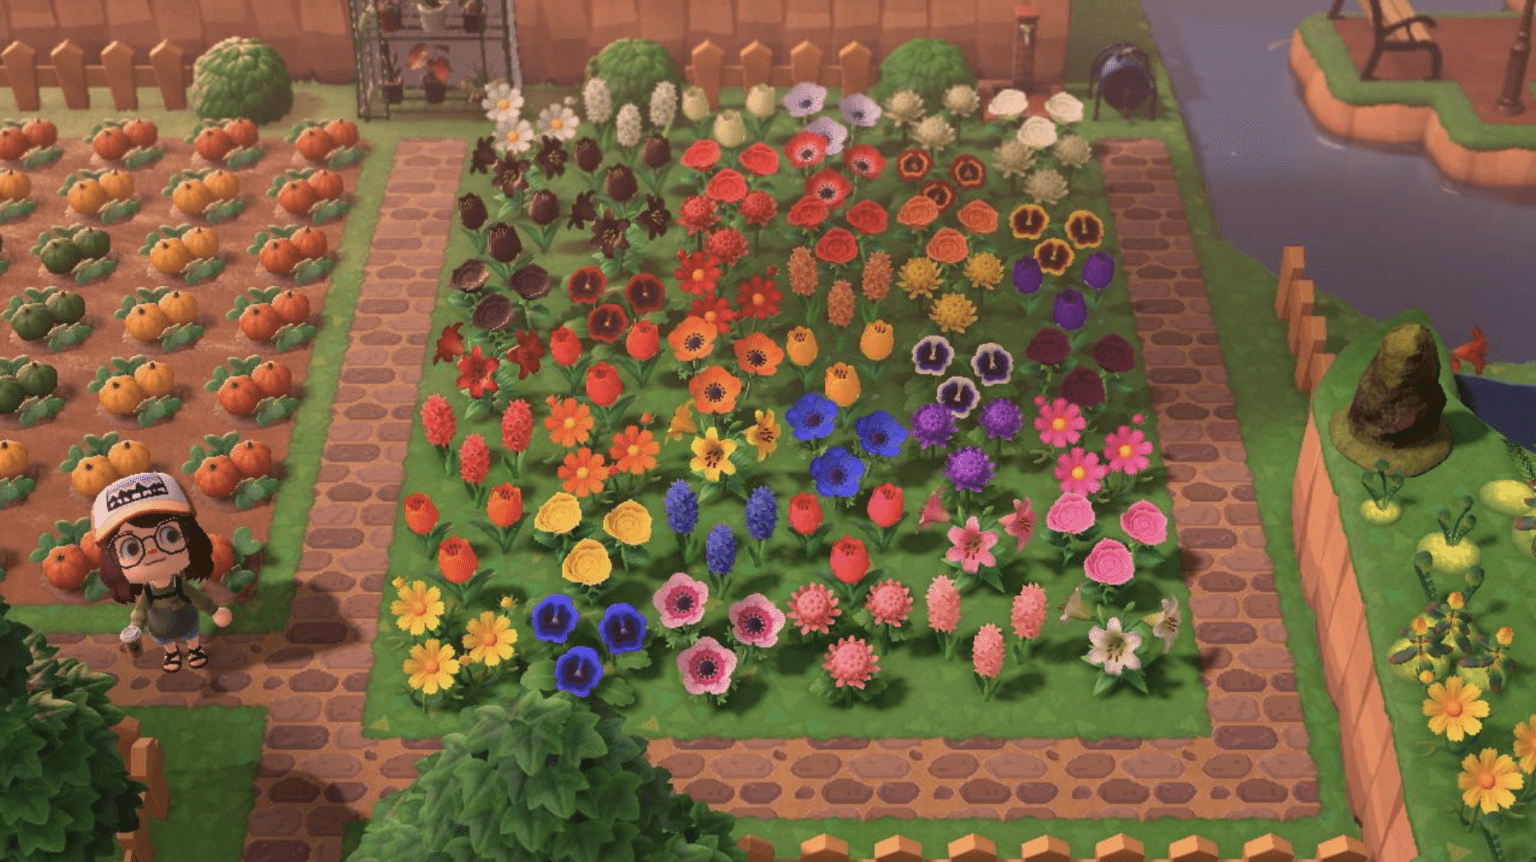
If you’re like me, you want at least one of every flower in every color. But this is SUCH a hassle to make look pretty and keep tamed when trying to organize and maintain. I’ve tried a few different ways of ordering my flowers around the island, but my favorite has been creating a rainbow garden.

This has allowed me to create a small enough section to keep it from over-running my entire island and still have a pretty area that shows all of the different flowers.
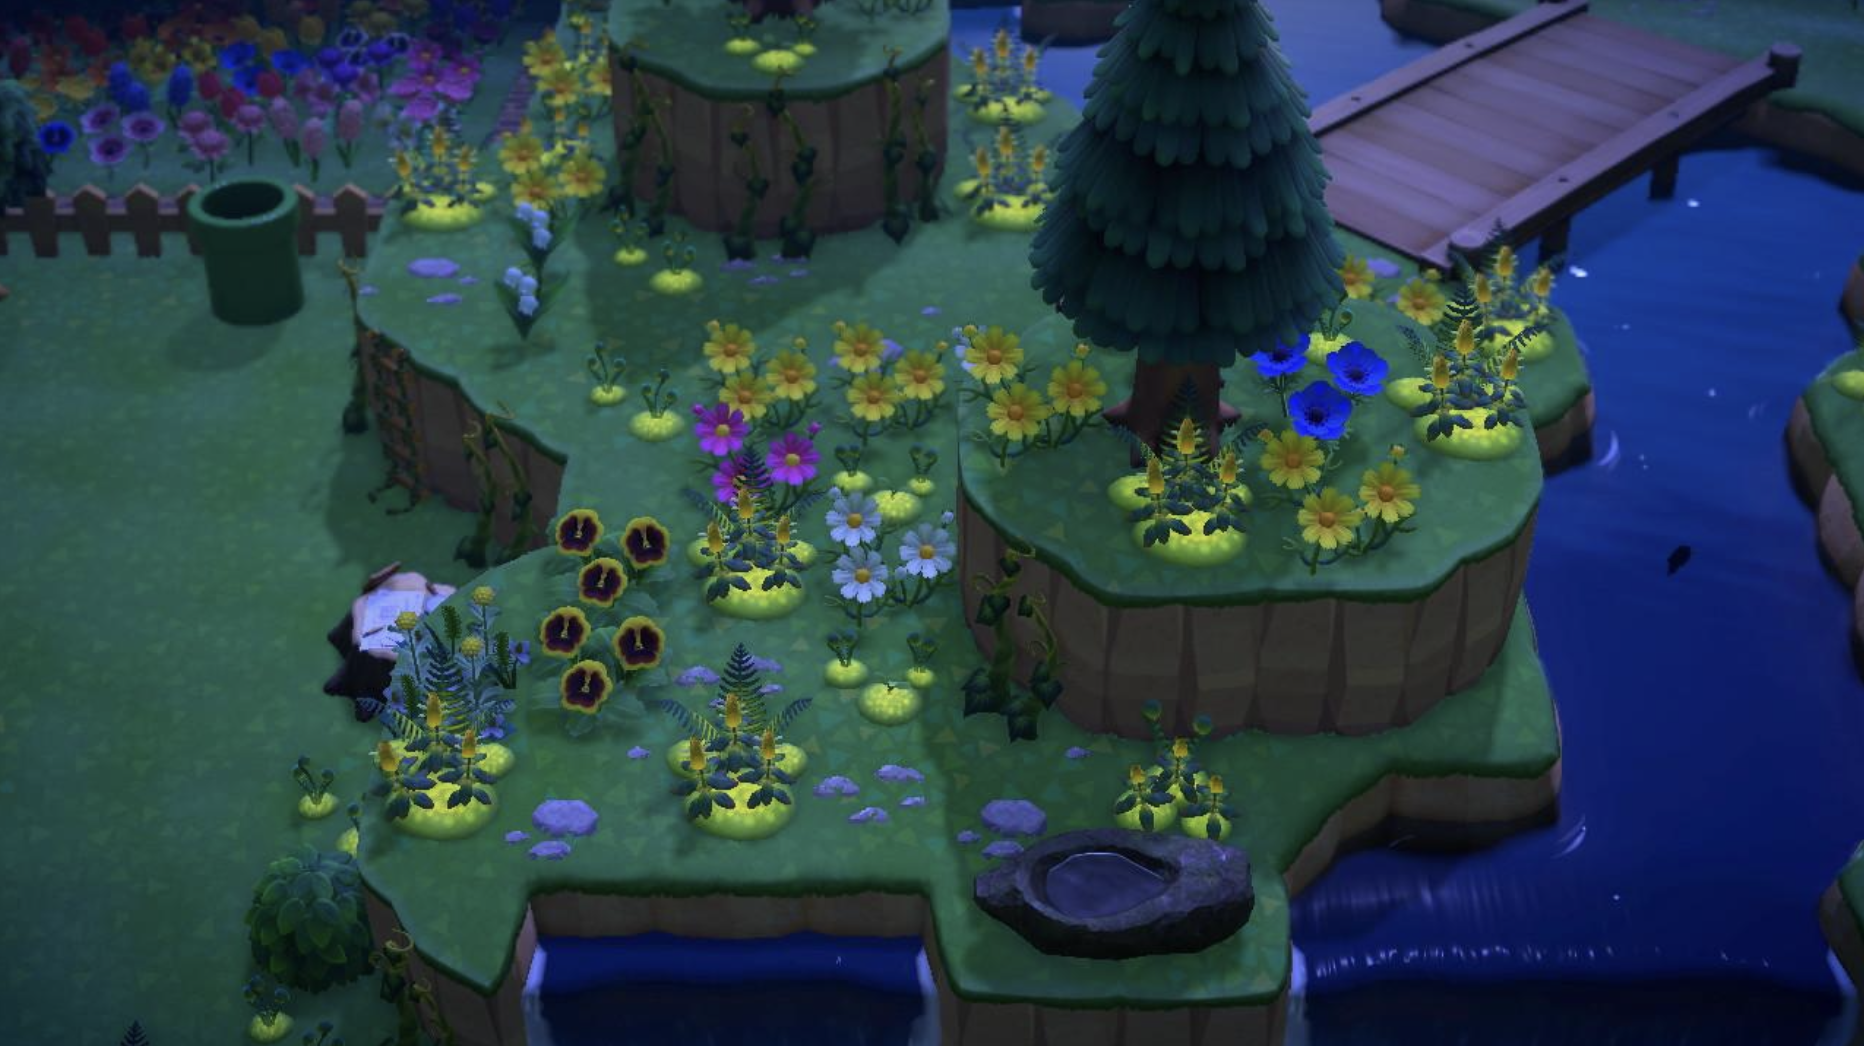
Personally, my island theme is nature- and cottagecore-based, so I have a section or two where flowers are completely covering the cliffs to encapsulate what you’d find in the wild. Once I got my 5-star rating, I let my Lily of the Valley flowers grow randomly to capture that feeling.
Step 4: Ramp Up Those… Ramps
One of the absolute hardest things for me to complete on my 5-star journey was placing my ramps. At the time, it was costing me so many bells and the pressure of placing it in the perfect spot was at an all-time high.
But I’m here to tell you, the most important aspect of placing the ramps (at least for me) is how you’re going to utilize them. Are your ramps going to be specifically designed for getting up or down to the next level? Are they just a fun feature that adds character to the area? How easily can you maneuver them to get from point A to point B?
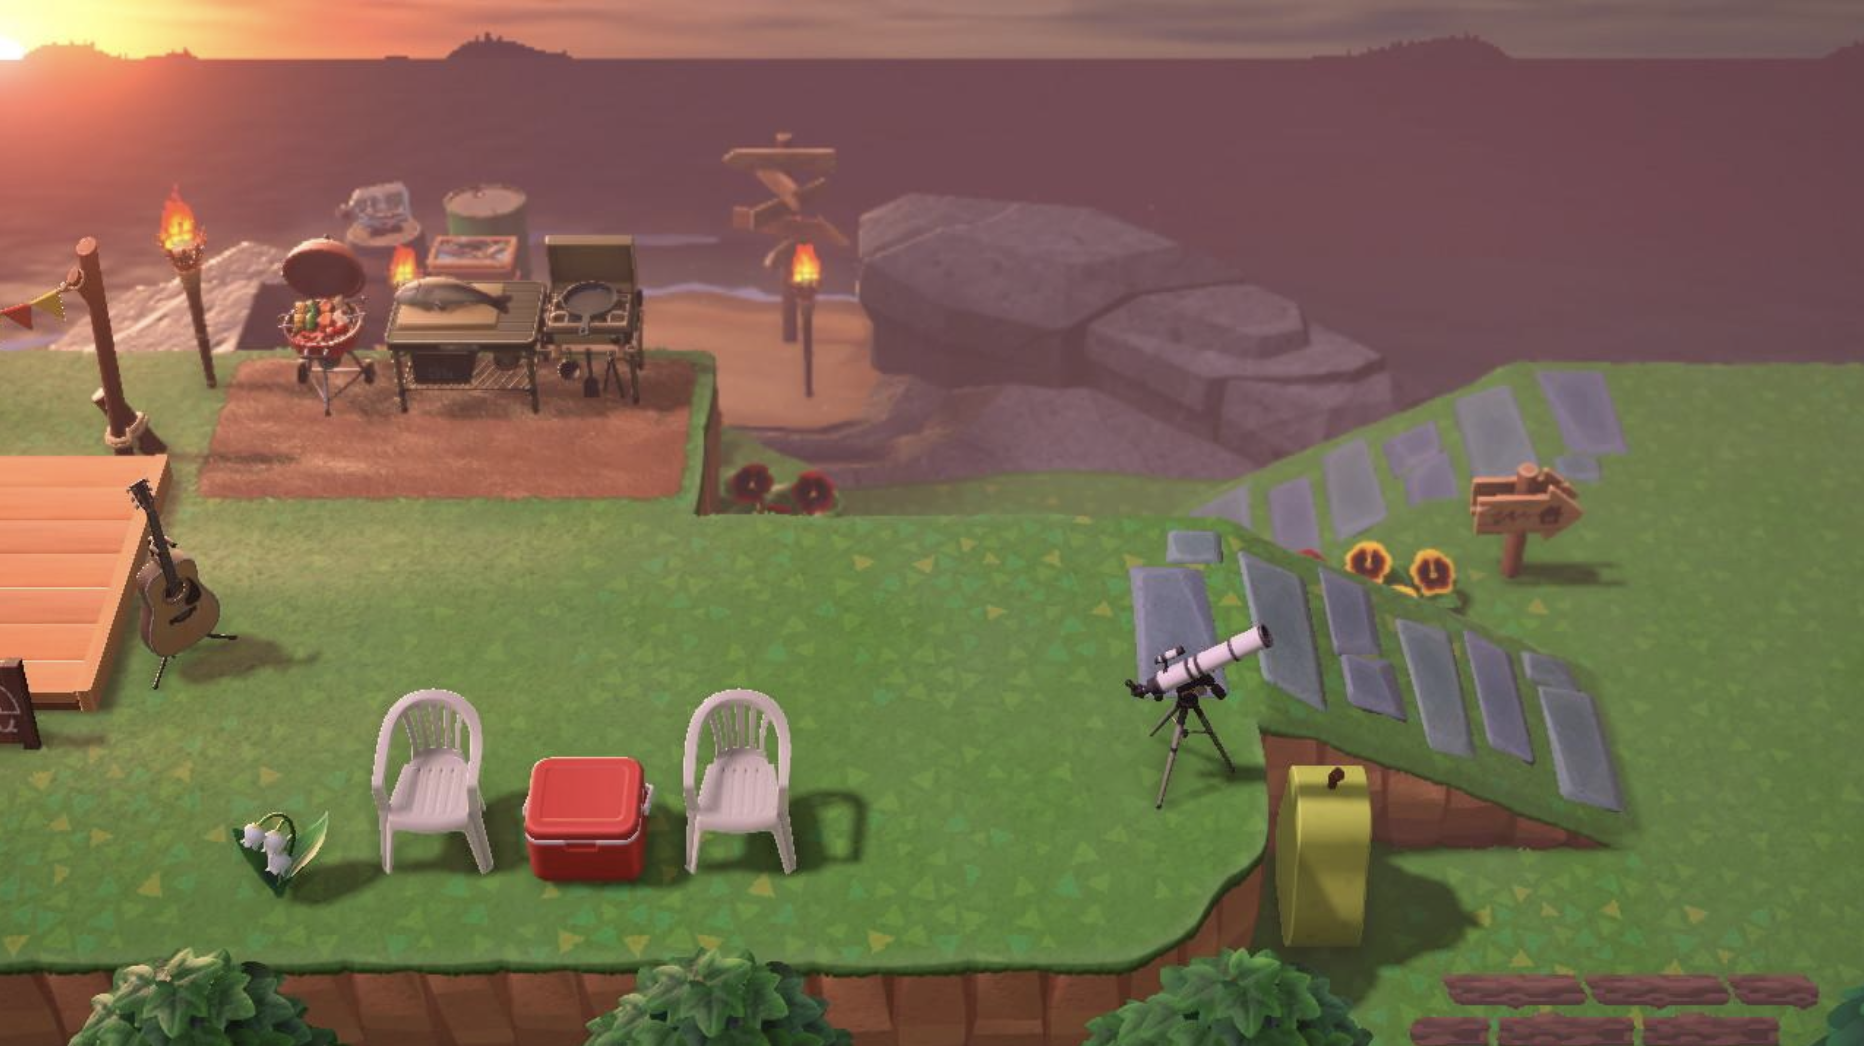
After you figure that out, don’t be afraid to place ramps near one another! You can do this by placing ramps between three cliffs and using them to make a fun path to run up and down on. Here’s an example from my island where my ramps double as an easy path from my campsite to my hidden beach and a fun path.
And don’t forget to use different types of ramps throughout your island!
Step 5: We’ll Cross That Bridge When We Make It
Similar to ramps, bridges can be just as overwhelming to find the perfect spot to place on your island. However, there’s also a restrictive factor when placing these, as you have to have some kind of water source to place it over.
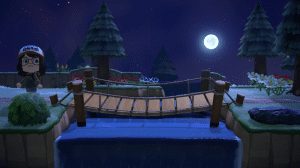
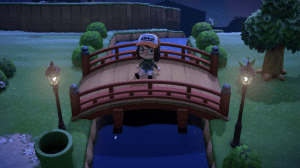
Try to have fun with your bridges in both design and placement when thinking about how to use them. You can make a small pond and place a diagonal bridge to make a small water feature in a park or garden. Or, you can do a bridge that’s lost in a forested area.
Here’s my take on a few different designs. Like I said before, I loved my cottagecore vibe, so my personal style definitely is more “wilderness explorer” than “city dweller.”
Step 6: DIY Furniture for Four, DIY 5-Star Effort
Depending on how far along you are in the game, this one can be a challenge. But assuming you have plenty of materials and DIY cards, here are a few different ways you can keep your island from feeling cluttered but still use lots of furniture to decorate.
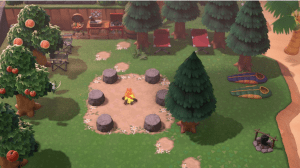
Make a Sitting Area (or Two!)
This is such a great way to put a lot of things in a small space without it being too much. And there are so many designs you can choose from: cafes, parks, camps, beaches, gardens, etc.
Make a Functioning Garden With All the Tools You’d Actually Need
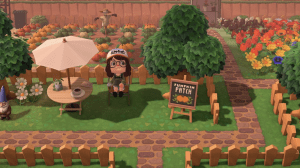
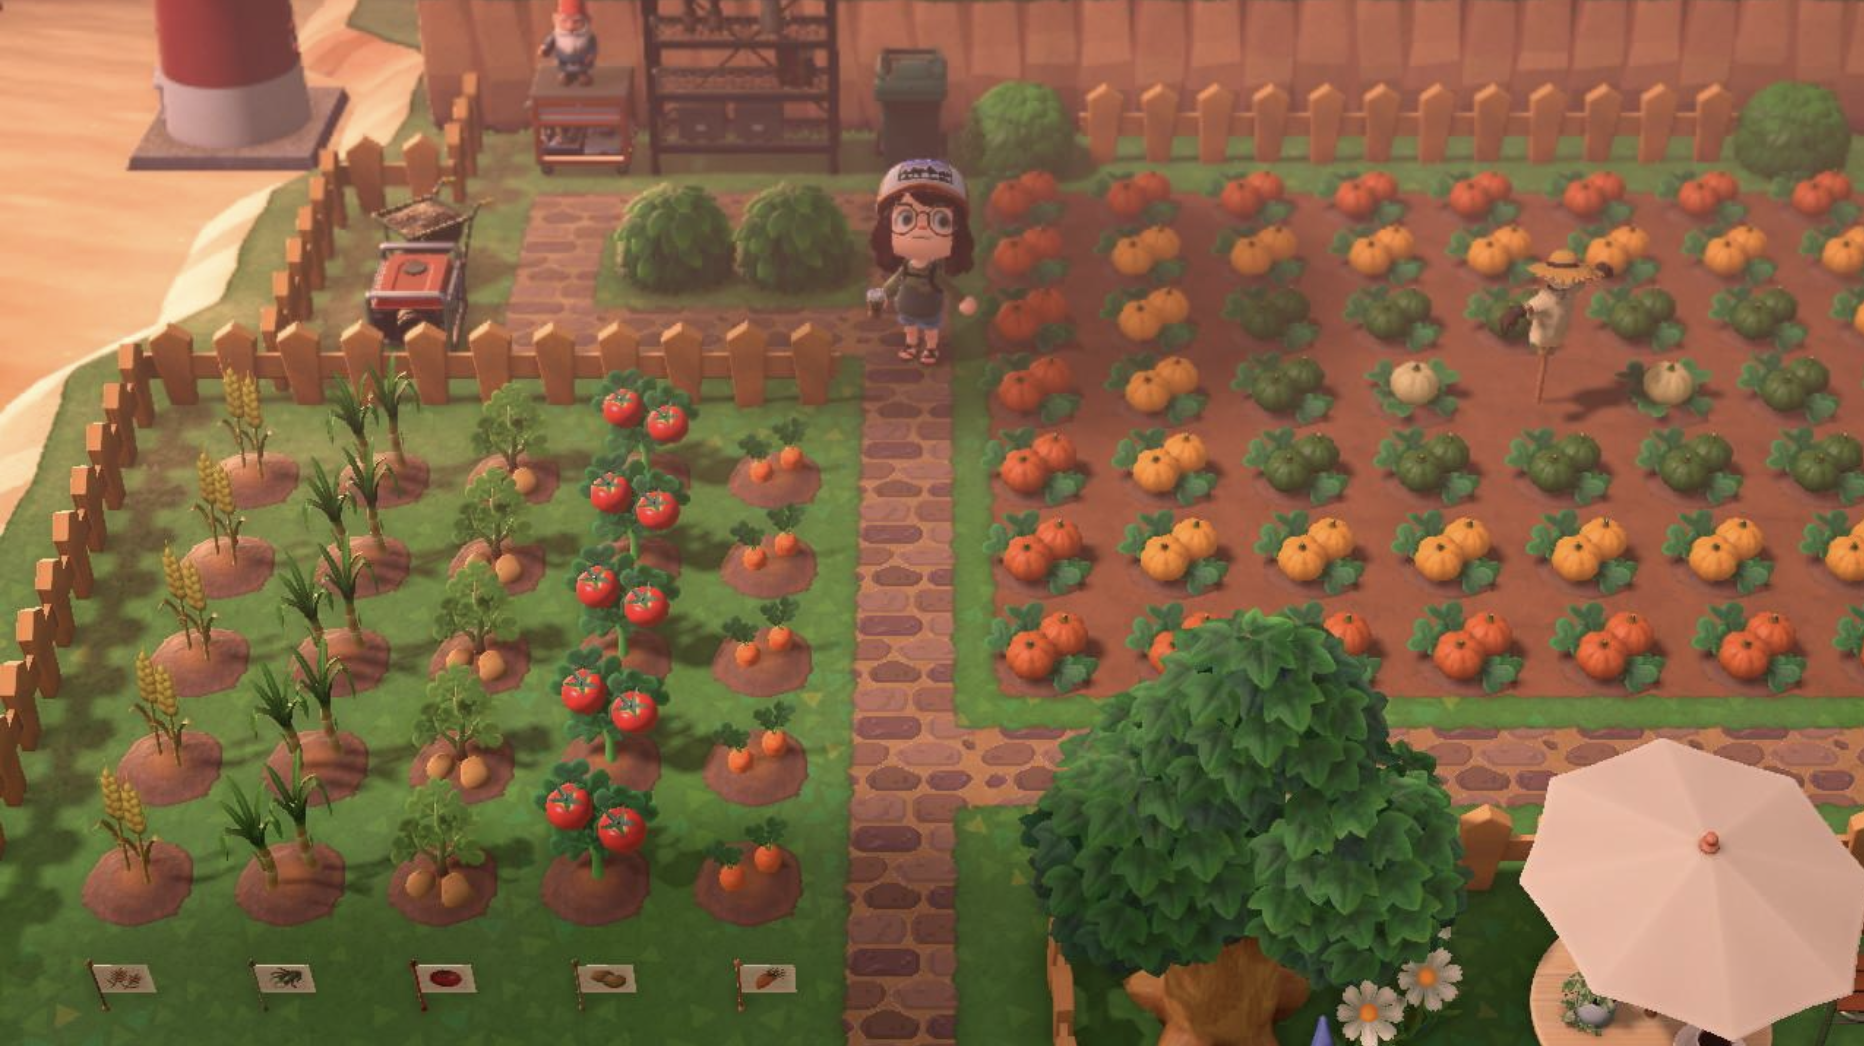 ACNH is really great about giving you plenty of outside equipment to choose from to decorate your island. Though I didn’t originally plan on it, I made a huge garden and pumpkin patch area that’s complete with a water faucet, gardening storage, a wheelbarrow, and some other things. This is also a great way to farm for fruit or veggies when you need lots of bells fast.
Make a Recreational Area for Your Villagers
 I fought myself planning this for weeks, but after redesigning countless times, I finally came up with a small area where my villagers could lounge by the pool. Right next to this, I also have a volleyball sand court to complete the aesthetic of a summer camp with plenty of activities.
A Penny Saved Is a Penny Earned… and Then Immediately Spent at Nook’s Cranny
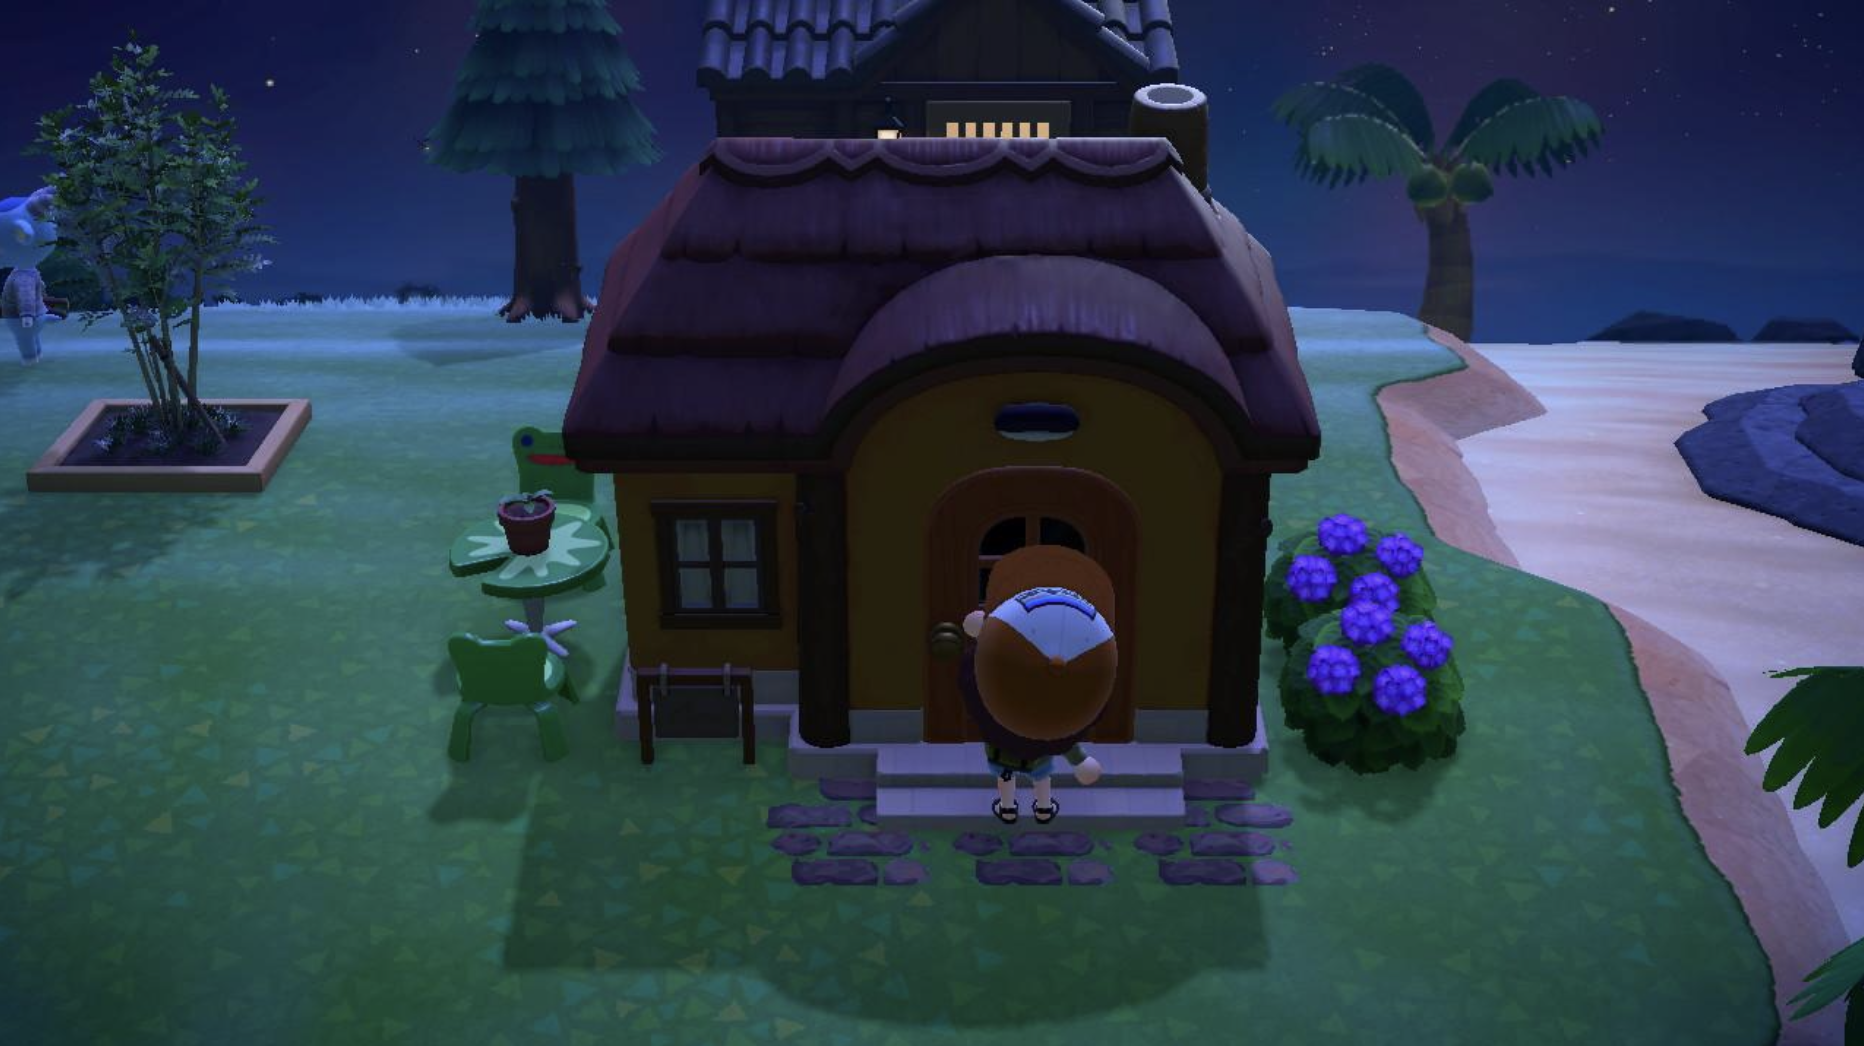 As unfortunate as the prices are for items in ACNH, it’s essential that you buy a variety of large and small items to decorate your island. This doesn’t mean you have to necessarily buy everything you see though. Have in mind the kind of areas you want to create on your island and keep a lookout for them at Nook’s Cranny or at the Nook Stop at Resident Services.
Similar to the above, you’ll want to have an idea of what to do with said furniture once you finally get it. A really great idea to pursue is making your villagers’ yards match their personalities. You can do this by adding a few trees or shrubs, a bench, and a small table with a coffee cup or other small item atop it.
Don’t Forget To Decorate the Outside of Your Own House!
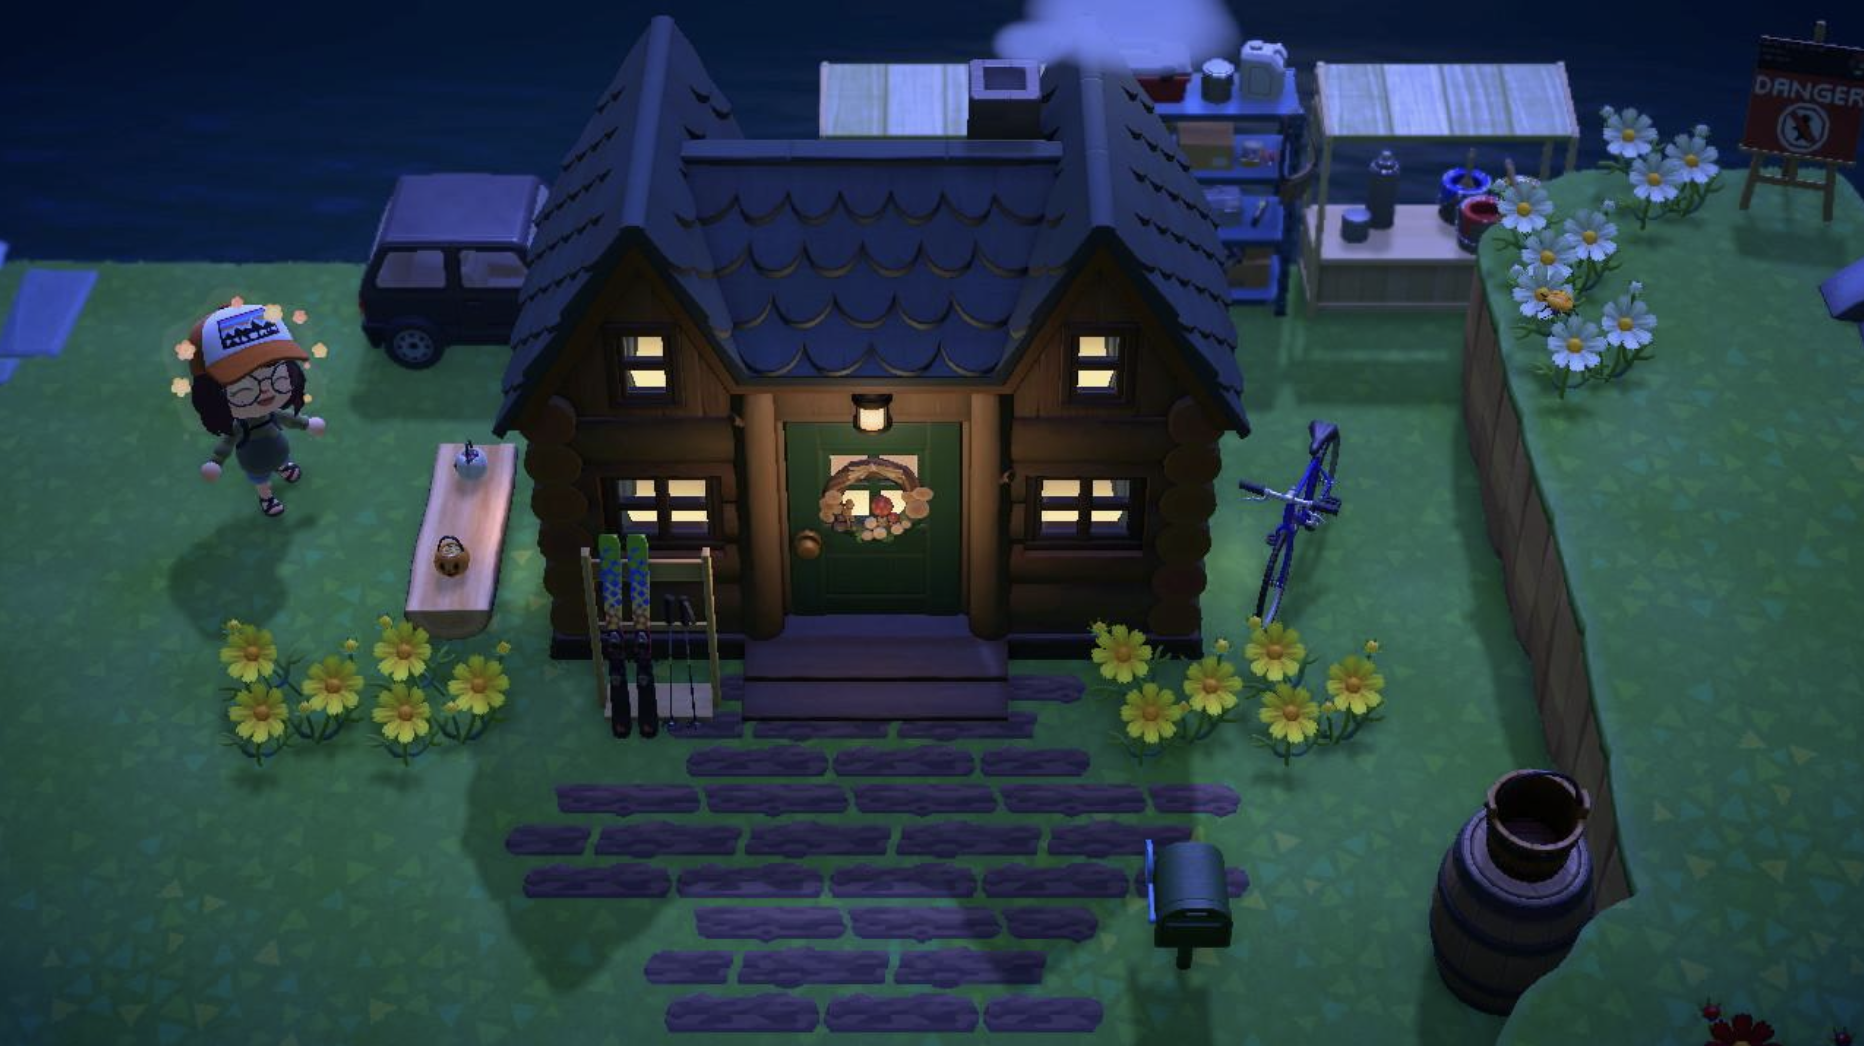 Whether or not you have a theme for your island or even just your house, adding furniture items around your home can really make it feel so much more complete. Personally, I wasn’t sure what to do with my home, so I just added a few things here and there until it looked like a real home to me.
Step 7: Maintain a Well-Balanced Island
A lesser-known trait of keeping or achieving your 5-star island is making sure all of your furniture, trees, and flowers aren’t all together. The game rates your island by looking at 8×8 sections (so 64 squares total), and if you have more than 45 items in that space then it will likely knock down your rating.
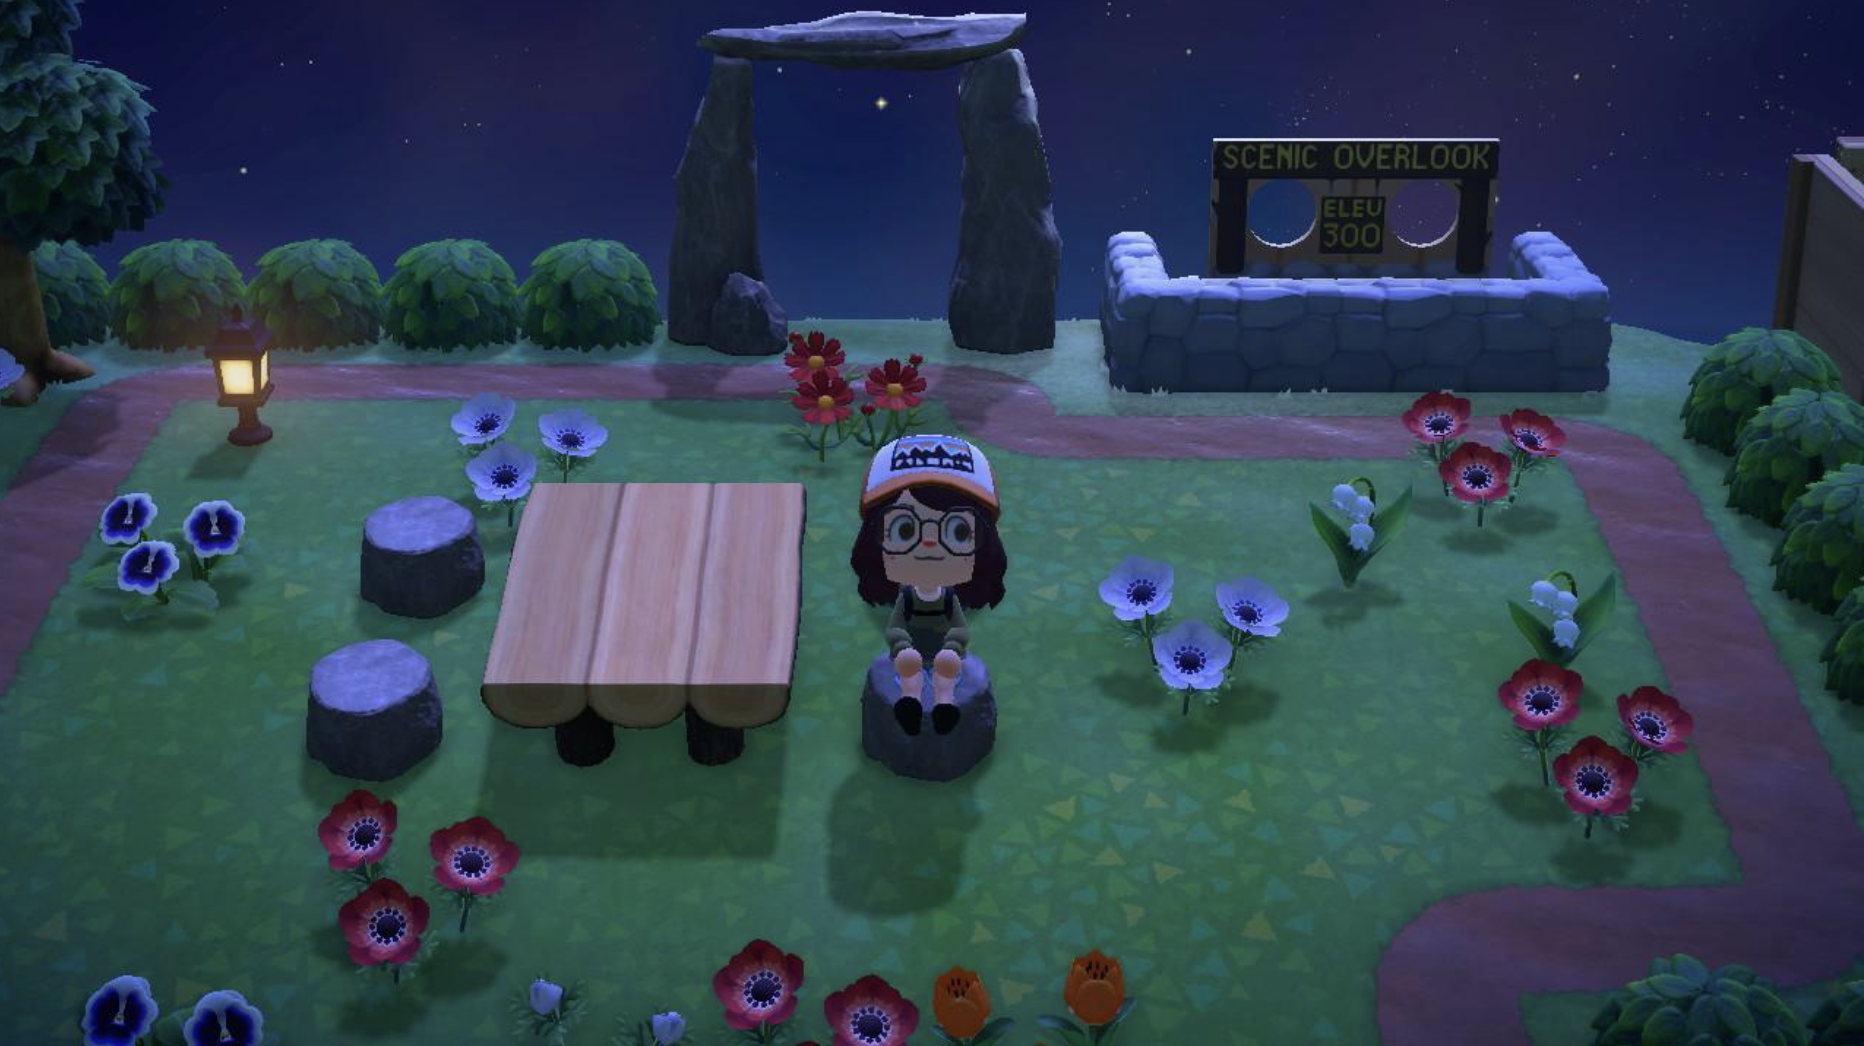
So be sure you spread out the different areas on your island and create small spaces from big open sections. If you still feel like a certain spot is missing something, ask yourself what you’d add in the real world to make it seem friendlier or more complete.
Do you have tricks or tips for creating and maintaining your 5-star islands in Animal Crossing: New Horizons? Let me know in the comments. If you need inspiration for your island, check out my recent guide for how to reignite your passion for Animal Crossing: New Horizons. Happy designing!
Sabrina enjoys games of all kinds, with her first loves being Nintendogs and The Sims 2. When she’s not busy chasing her toddler for the controller, she can be found playing RPGs, Animal Crossing: New Horizons, or any of the Mario and Legend of Zelda games. Aside from games, she enjoys screaming at the Houston Astros from her living room and blasting Panic at the Disco. Sabrina has a B.S. of Journalism and Mass Communication and is currently a freelance professional photographer, journalist, and substitute teacher.







this made me want to play animal crossing again!!
Love it!!!
Thank you for giving us this information it really helps
Hi I am planning Animal Crossing new horizons how can I design my island I need help
Check out the article!
I stopped playing animal crossing because I couldn’t get 5 stars but now i can and i will try these hacks thanks sooo much for this information!!!!!!!!!!!
Anyone know the path she used?
its custom
Do you know if the tally of ramps includes stairs? I’m asking as they are lumped together in the infrastructure menu.
pretty sure anything that is considered a ramp (you buy it from tom nook when talking about bridges / inclines) is good, including stairs.
I will try these tips!
niceeeeee tysm im so happyyyyyy
Thanks for playing my game! Isabelle and I enjoy spending time with you!
Thank you this really helps
Thank you very much! It helped me and now i can have 5 star rating island. Thank you very much again!
wow! so cool! now Isabelle won’t have to give me four star anymore :3